
the problem
Sending particles to Cinema 4D from Houdini is fraught at the best of times. Thinking Particles is unreliable, slow, and complicated to configure. Importing Alembics as points is equally tricky, and attributes difficult to access. Caching particles as polygonal geometry is terribly inefficient, unwieldly, and a little silly.
The best method I’ve found is exporting via RS Proxies.
caveats
You won’t have access to the points themselves; deformers, cloners, will not work. Particle scale and type is locked to your Houdini setup. This solve works for manipulating shading only. Like with all RS Proxies, internal file paths are absolute and cannot be changed. Earlier builds of Redshift cannot open proxies generated by newer releases. Obviously this doesn’t work with other render engines, I hear ORBX is a possible Octane solve. Let’s get started!
the particles
For this example, I have a dead simple particle system. Velocity based on normal direction (generated with the polyframe SOP) and a noisy popforce + popdrag applied over time with the normalized age attribute @nage. Particles are locked to the collider (Floor) using a minpos function in a popwrangle after the velocity wrangle.
My random attributes are set before the popnet so values don’t jump about on particle death, for my purposes this is random enough. Take care setting @pscale. For this example 0.001 is my maximum value.
I like to keep my floats normalized, so post simulation I have an attribute remap SOP converting the age attribute to 0-1. I also opted to ditch integers and kept my id_variant attribute float too.
preparing attributes for export
Unlike typical Alembic exports, we gotta trick Redshift into saving the attributes we want access to for shading. To do this we build a “draft material”, simply linking our point attributes to anywhere on the shader. This is enough to tell Redshift to save the attributes for later.
From my experience, you must use RS Point Attribute to snag your attributes, otherwise it won’t work. Be sure to set your material type to point, instead of primitive. Crucially, you need to set the render material at the OBJ level.
Generally Cinema 4D and Houdini operate at vastly different scales, to get them to match I added two offset nodes. Position offset of 100x globally, and a wrangle for particle scale (@pscale = @pscale * 100;).
NOTE: While I haven’t run into an issue exporting color, Cinema 4D is generally real finicky about how it receives vectors. If you run into issues, check out Matt Tillman’s guide, to convert your vector attributes.
Onto the next step.


creating the redshift proxy
While in your object settings, head over to the Redshift OBJ tab, and enable particles. Leave the scale alone, we should only rely on our pscale attribute.
Next dive back into your geo network, and add a redshift proxy output SOP. You can do this with the ROP as well. If you want motion blur support, enable that and the Instance/Particles Blur checkbox. Be sure you still have your v attribute around for that. Finally, configure your output settings. Recommend either culling attributes before export or check Discard the Not Used Attributes.
That’s it! Now for Cinema 4D.


cinema import and shading
You should now have an .rs sequence to import. Create an RS Proxy object, and select the first file of your sequence. Check enable animation, detect frame range and set the framerate accordingly. You should see two things, a bounding box in the viewport, and your proxy material listed in the import. If you don’t, check the previous steps. Previewing the particles in the IPR in Houdini is a great way to debug if you run into issues. It should look identical in both Cinema and Houdini!
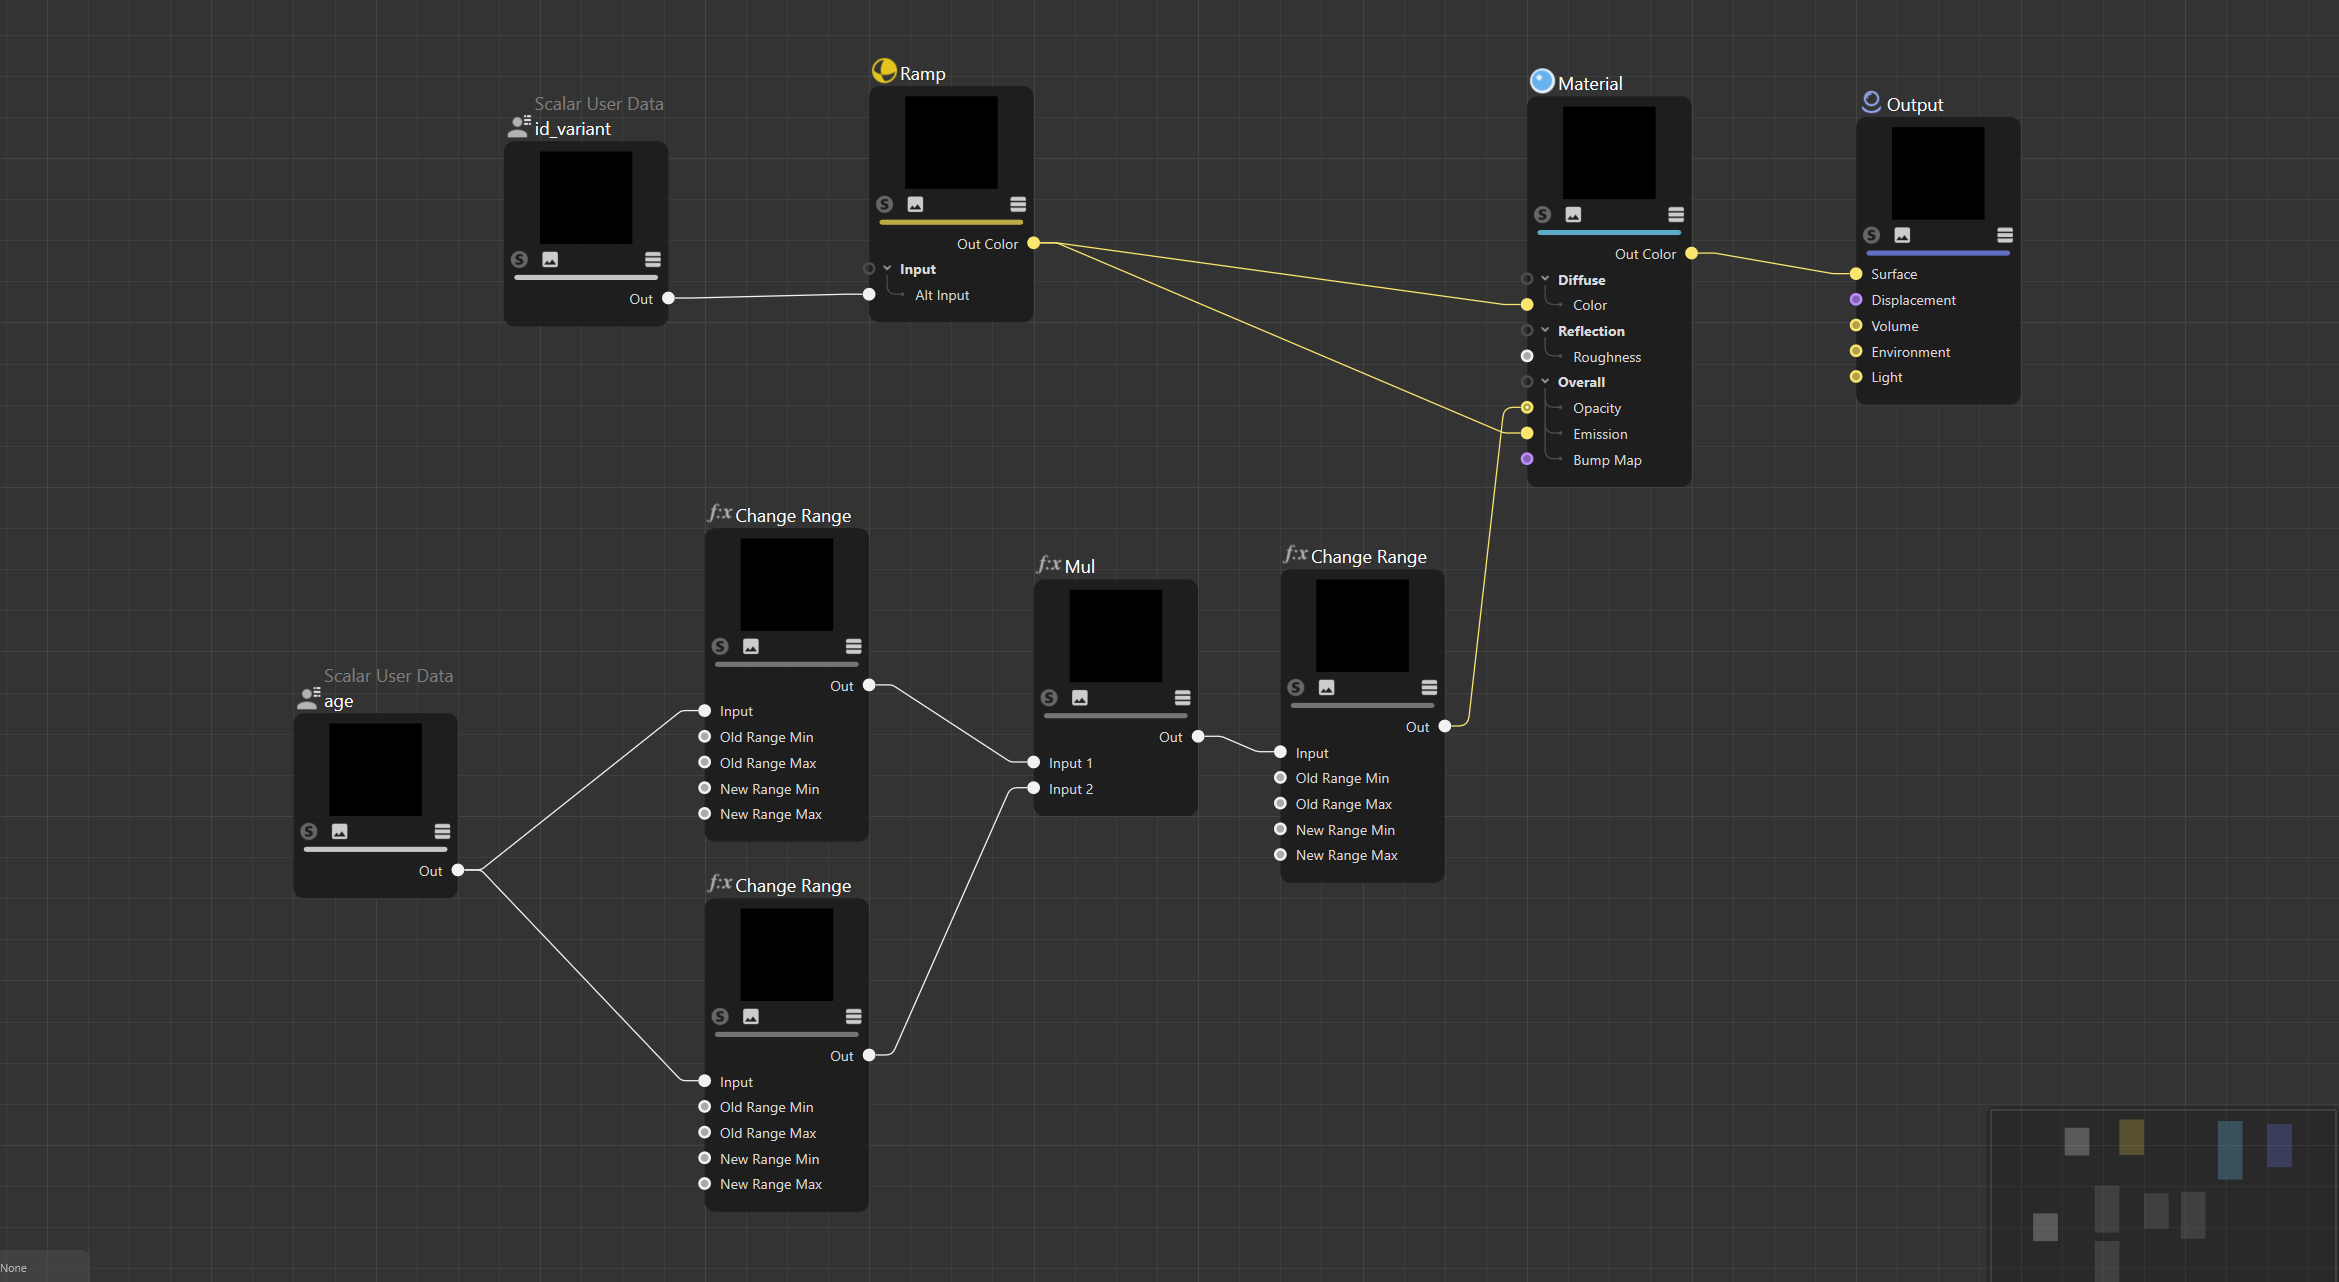
The fun part, change your material to object based and create a new material. You should now be able to reference our attributes with the User Data nodes (in my instance, scalar and color data). That’s it! You should now be able to shade your particles however you like. I used my id_variant and age attributes to create this quick render.

afterward
I hope this was helpful!
Running into this issue in the middle of production was maddening. Thank you so much Christopher Rutledge, Mark Fancher, Patrick Letourneau, Petru Carvaci, and David Torno for helping me troubleshoot and eventually settle on this solve. While I did eventually get Thinking Particles to kinda work, it just wasn’t worth the headache, quirks, and inconsistency. Highly highly recommend you stick with outputting proxies, or just light / render natively in Houdini. It’s pretty good at that, too.
Thank you and good luck!